
Introduction to Banana Pudding
Banana pudding is more than just a dessert; it’s a beloved classic that evokes feelings of nostalgia and warmth. This delightful treat combines layers of smooth pudding, sweet bananas, and crispy Nilla Wafers, crafting a perfect blend of textures and flavors that many cherish. The simplicity of its ingredients—milk, bananas, and vanilla pudding—makes it an effortless dish to prepare, especially for busy young professionals looking to impress at gatherings or indulge on a weeknight.
What makes banana pudding a favorite dessert? One reason is its versatility; it's perfect for any occasion, from potlucks and family gatherings to casual weeknight dinners. Plus, studies show that comfort foods like banana pudding tend to boost mood and bring people together, making it a delightful option for social settings. Each spoonful acts as a reminder of childhood comforts, bringing back memories of family recipes and summer picnics.
The ease of preparation means you can whip up this indulgent treat in just 20 minutes, with an extra few hours for it to set. For anyone seeking a nostalgic, crowd-pleasing dessert, banana pudding is a fantastic choice. Dive into the recipe below and create your own version of this timeless favorite!
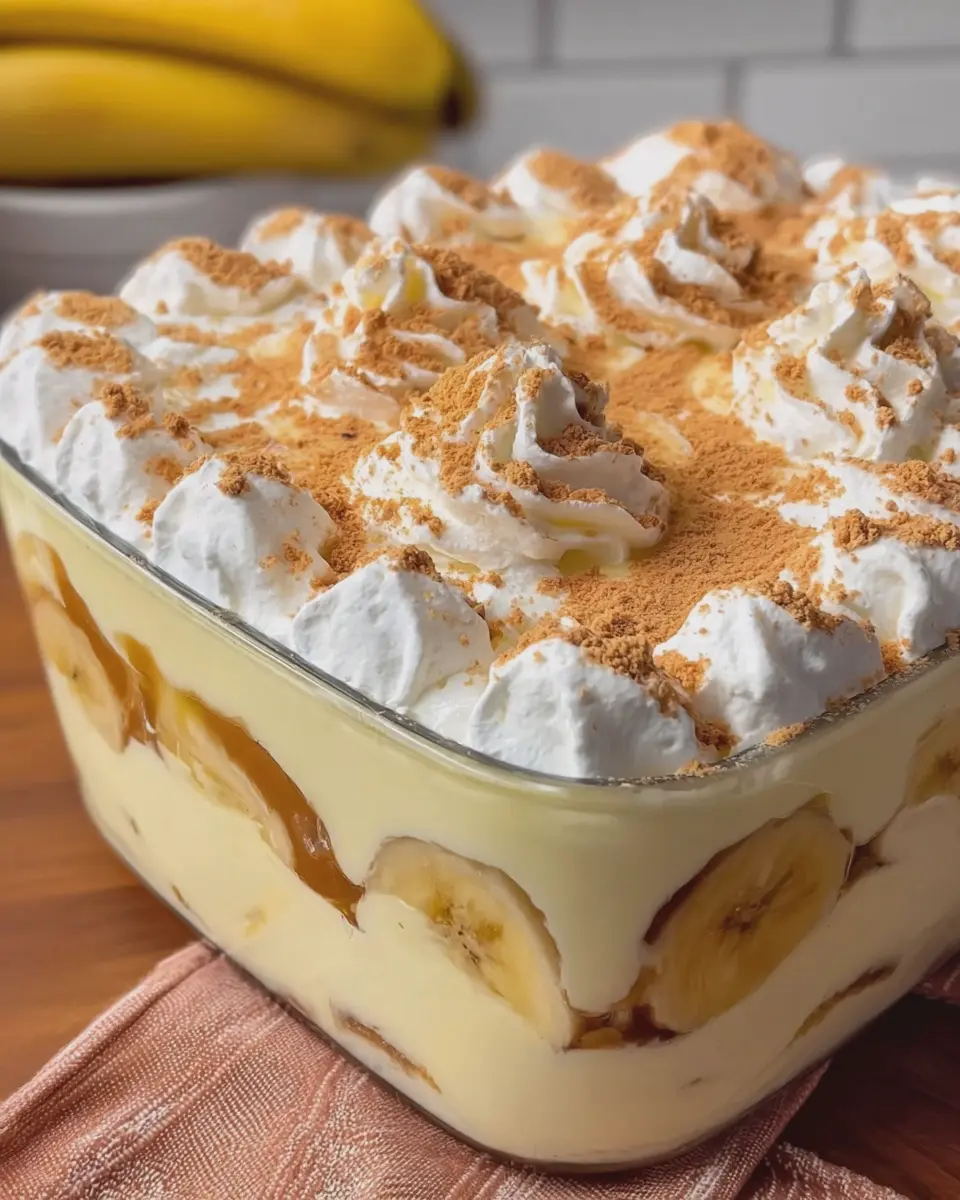
Ingredients for Banana Pudding
Creating the perfect banana pudding is all about selecting the right ingredients. Luckily, this delightful dessert requires just a few key items that you likely already have on hand. Here’s what you’ll need:
-
Nilla Wafers: About 30 to 40 cookies provide that iconic crisp and sweet base. They’re essential for layering!
-
Bananas: Four large, ripe bananas sliced into ½ inch rounds for a natural sweetness that balances the pudding.
-
Whole Milk: Two cups of cold whole milk ensure your pudding has the right creaminess and flavor. Low-fat options may alter the texture.
-
Instant Vanilla Pudding Mix: Two 3.4-ounce packages provide the easy thickness and rich flavor.
-
Cream Cheese: Eight ounces, softened, adds a luxurious texture and depth.
-
Granulated Sugar: A ½ cup enhances the overall sweetness to perfection.
-
Cold Heavy Whipping Cream: One cup contributes to the dreamy topping.
-
Pure Vanilla Extract: One teaspoon elevates the flavor profile.
-
Whipped Topping: One 8-ounce container of prepared whipped topping, thawed, rounds it all out to a delightful finish.
With these ingredients, you're just a few steps away from enjoying a classic banana pudding that will impress family and friends. Don't forget to check out this article on the health benefits of bananas for even more reasons to love your dessert!
Preparing Banana Pudding
Making banana pudding is a delightful experience that brings a touch of nostalgia into many kitchens. This crowd-pleasing dessert is not only simple to prepare, but it also allows for creativity in layering flavors and textures. Let’s dive into the steps to create this creamy treat that’s perfect for gatherings or a cozy night in!
Cream the Cheese and Sugar
To start, grab a large mixing bowl and add 8 ounces of softened cream cheese along with ½ cup of granulated sugar. Using an electric mixer set to medium speed, beat the mixture until it becomes smooth and creamy—this should only take about 2-3 minutes. This step is crucial because the cream cheese adds richness to your pudding, transforming it into a decadent delight. If you want to know more about the benefits of cream cheese, you can check this article.
Mix the Pudding and Milk
Next, it's time to bring in the fun flavors! Add two packages of instant vanilla pudding mix along with 2 cups of cold whole milk to your cream cheese mixture. Start mixing on low speed for about 2 minutes until everything is combined, then increase the speed to high and blend for another 2 minutes. The mixture will thicken beautifully at this stage. Stir in 1 teaspoon of pure vanilla extract for that aromatic finish—trust me, it’ll elevate your banana pudding like nothing else!
Layer the Ingredients
Now comes the layering! Begin by spreading a thin layer of your pudding mixture across the bottom of a 9x13 inch baking dish or a large trifle bowl. This foundational layer is crucial; it creates a delicious base. Next, arrange a single layer of Nilla Wafers (aim for about 30 to 40 cookies) over the pudding, followed by an even layer of sliced bananas—make sure they are approximately ½ inch thick for optimal texture. Repeat this process until all ingredients are used, ending with a smooth layer of pudding on top.
Make the Whipped Topping
While your pudding layers are taking shape, grab a chilled bowl and pour in 1 cup of cold heavy whipping cream. Beat the cream until stiff peaks form—this usually takes just a few minutes. For an extra indulgent touch, gently fold in a container of prepared whipped topping (8 ounces) until they are fully combined. This whipped topping adds a light, airy texture to your dessert, making it even more inviting.
Chill Before Serving
Cover your beautifully layered banana pudding with plastic wrap and refrigerate it for at least 4 hours, or even overnight, if you can wait that long! This chilling process allows the flavors to meld together while the Nilla Wafers soften into a cake-like texture. When you’re ready to serve, this chilled dessert will be a perfect blend of creamy and crunchy, offering a satisfying bite every time.
Now that you know how to prepare this delightful banana pudding, gather your friends and dig in! Enjoy this dessert that complements any occasion or just a quiet evening at home!
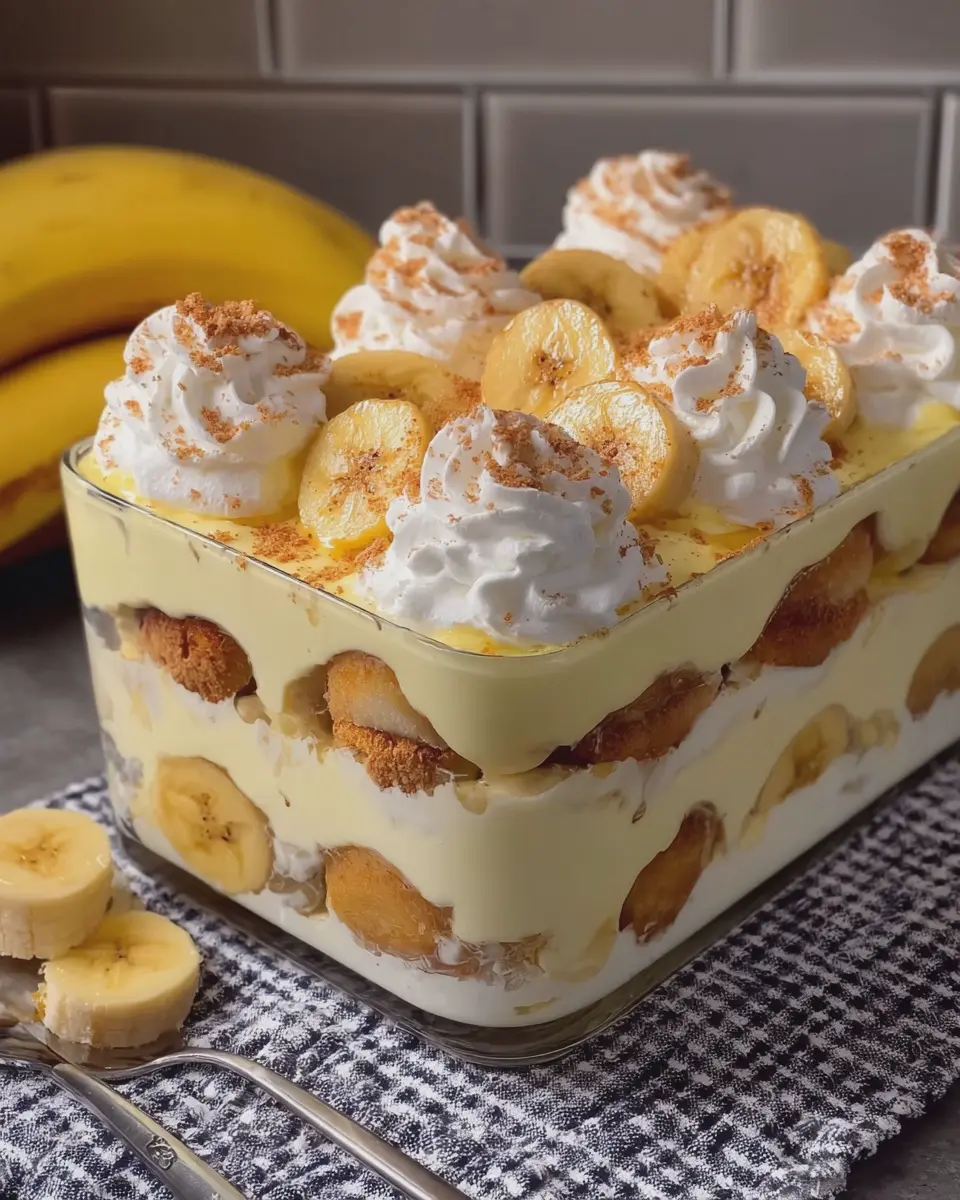
Variations on Banana Pudding
Chocolate Banana Pudding
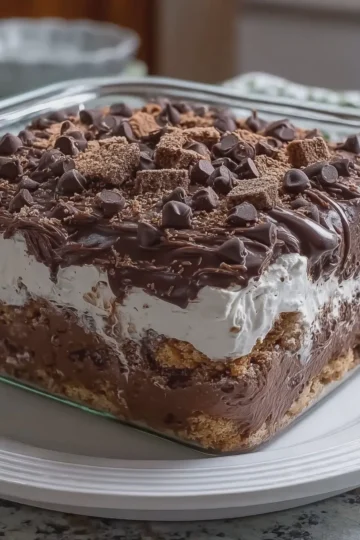
If you're a chocolate lover, why not elevate your banana pudding with a rich chocolate twist? Simply replace half of the vanilla pudding mix with chocolate instant pudding mix. Layer your Nilla Wafers, bananas, and chocolate pudding in the same delightful way as the original. You can even top it with chocolate shavings or mini chocolate chips for an extra touch!
Tropical Banana Pudding
Craving something a little more exotic? Try a tropical banana pudding! Swap out the Nilla Wafers for coconut macaroons, and add diced pineapple or mango in between the layers. A splash of coconut milk in the pudding mixture can heighten the tropical vibe. This version will transport you straight to a beach getaway, even if you're just enjoying dessert at home!
Feel free to experiment with these ideas and customize your banana pudding for any occasion. Want more tips? Check out this resource for more creative variations!
Cooking Tips and Notes for Banana Pudding
Creating the perfect banana pudding is an art, and with a few handy tips, you'll shine in your kitchen!
- Choose Ripe Bananas: Use ripe, slightly speckled bananas as they bring out the best flavor and sweetness.
- Layering Technique: Ensure that the layers are well-structured. A thin layer of pudding at the bottom helps prevent the Nilla Wafers from sticking.
- Chill Time is Essential: Don’t rush the refrigeration; letting it sit overnight enhances the flavor and ensures a creamy texture as the wafers soften.
For a delightful twist, consider substituting the instant pudding with homemade for richer flavor. Need more tips? Check out sources like The Kitchn for advanced techniques! Remember, it’s all about enjoying the process. Happy cooking!
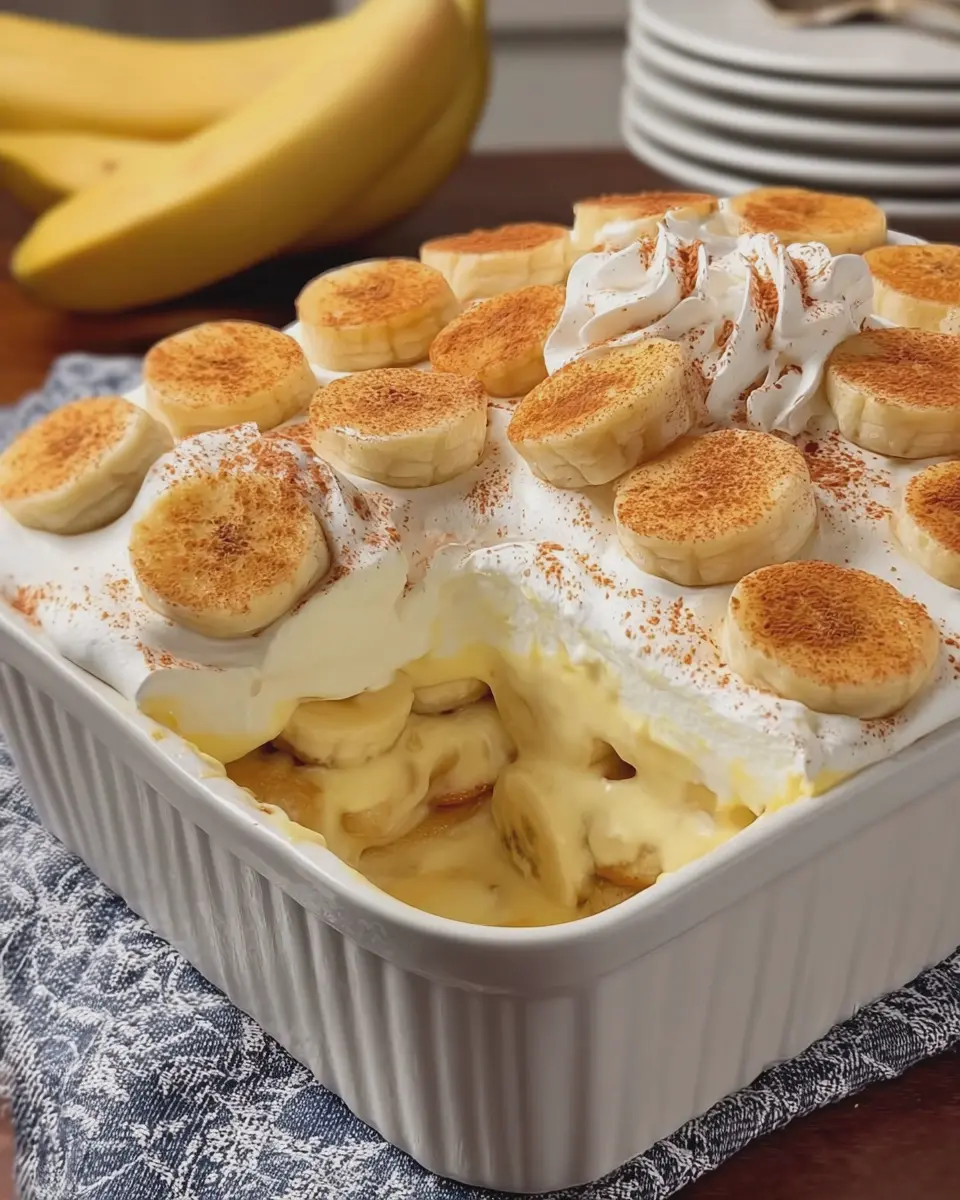
Serving Suggestions for Banana Pudding
When it comes to enjoying your banana pudding, there are a few fun ways to elevate this classic dessert.
Top It Off with Fresh Fruit
Adding a sprinkle of sliced strawberries or a handful of blueberries on top not only enhances flavor but also adds a pop of color. You can even create a fruit salad on the side!
A Dash of Spice
Consider serving your banana pudding with a dusting of cinnamon or nutmeg for an extra layer of warmth that can really impress your guests.
Perfect Pairings
Pair your pudding with a warm cup of herbal tea or even some rich coffee for a delightful contrast. Are you feeling adventurous? A scoop of vanilla ice cream or whipped cream on the side can take it to the next level.
With these simple adjustments, your banana pudding will shine at any gathering!
Time Breakdown for Banana Pudding
Preparation Time
Getting your banana pudding ready is a breeze! You’ll need about 20 minutes to prep all your delicious ingredients, from slicing the bananas to mixing that creamy pudding base.
Total Time
Once you’ve set everything up, the magic happens in the fridge! The total time, including chilling, is 4 hours 20 minutes. This allows the flavors to meld beautifully while ensuring the Nilla Wafers soften into heavenly bites. Don’t rush it—your patience will be rewarded!
For more tips on timing and serving, check out this helpful kitchen guide.
Nutritional Facts for Banana Pudding
Calories
A serving of this delightful banana pudding contains approximately 320 calories. This indulgence will surely satisfy your sweet tooth without overwhelming your daily calorie intake.
Servings
This recipe generously serves 12 delicious portions, making it perfect for gatherings or a week-long dessert treat.
Sugar Content
With around 20 grams of sugar per serving, this banana pudding strikes a balance between sweetness and satisfying flavor. For more insights on sugar intake, check out this article from Healthline.
Whether you're enjoying it on a special occasion or as a comforting treat at home, this banana pudding recipe is both enjoyable and delicious!
FAQ About Banana Pudding
How can I make my banana pudding creamier?
To achieve that extra creaminess in your banana pudding, consider using more heavy whipping cream. Instead of just one cup, you can use one and a half cups—this will elevate the texture significantly. Additionally, make sure your cream cheese is at room temperature before mixing; this ensures it blends smoothly into the pudding.
Can I use other cookies instead of Nilla Wafers?
Absolutely! While Nilla Wafers give traditional banana pudding its signature flavor, you can experiment with cookies like Chess Men, graham crackers, or even homemade vanilla cookies. Just keep in mind that different cookies might alter the overall taste and texture a bit.
How long can I store banana pudding?
You can store banana pudding in the refrigerator for about 3 to 4 days. Keep it tightly covered to prevent it from absorbing any fridge odors. For the best texture, consume it fresh, as the Nilla Wafers may become too soggy over time. For tips on storage techniques, you can check out resources like FoodSafety.gov.
Conclusion on Banana Pudding
In conclusion, banana pudding is a delightful dessert made for sharing and savoring. With its layers of creamy goodness and soft bananas, it's sure to be a crowd-pleaser at any gathering. So, grab your ingredients, whip it up, and enjoy every delicious bite with friends and family!
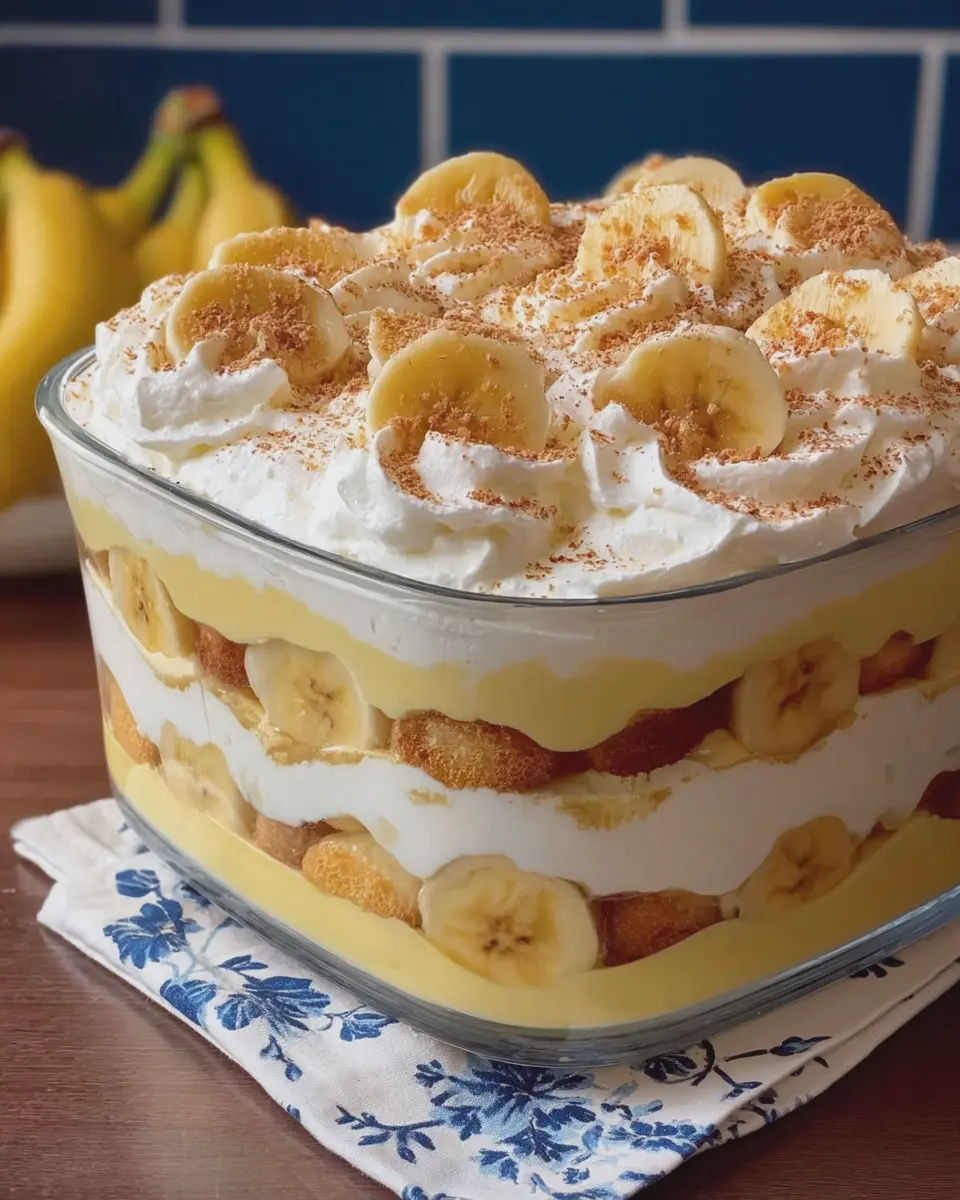
Banana Pudding
Ingredients
Equipment
Method
- Place the softened cream cheese and granulated sugar in a large mixing bowl.
- Beat with an electric mixer on medium speed until smooth and creamy.
- Add the instant vanilla pudding mix and cold whole milk.
- Beat on low speed for 2 minutes.
- Increase to high speed and beat for another 2 minutes until thickened.
- Stir in the vanilla extract.
- Spread a thin layer of the pudding mixture across the bottom of a 9 by 13 inch baking dish or large trifle bowl.
- Arrange a single layer of Nilla Wafers over the pudding.
- Place an even layer of sliced bananas over the wafers.
- Spread a generous layer of pudding mixture over the bananas making sure they are fully covered.
- Repeat the layers of wafers, bananas, and pudding until all ingredients are used.
- Finish with a smooth layer of pudding on top.
- Pour the cold heavy whipping cream into a separate chilled bowl.
- Beat until stiff peaks form.
- Gently fold in the prepared whipped topping until evenly combined.
- Spread the whipped cream mixture over the top layer of pudding.
- Cover the dish.
- Refrigerate for at least 4 hours or overnight so the wafers soften and the flavors blend.
- Serve chilled.
Leave a Reply